If you've spent years suspecting your posture is behind your back or neck pain but never had a clear way to confirm it, this is the article that hands you a method. No clinic, no equipment, fifteen minutes against a wall and a mirror.
Here's the honest framing first. A home check won't give you a clinical diagnosis, and it isn't meant to. What it does is something genuinely useful: it shows you, roughly, which way your body is drifting — head forward, shoulders rounded, pelvis tilted — so you stop guessing and start working on the actual pattern. That's the whole point of learning how to check your posture at home. You can't correct what you can't see.
Why a home check is worth doing
Most chronic, non-traumatic back and neck pain isn't random. It comes from the body compensating around a postural imbalance — some muscles switched off, others overworking to cover for them. The deviations you can see from the side (a head that sits forward, a back that rounds, a pelvis that tips) are the visible signs of that imbalance.
The reason this matters: the same stretch that helps one posture can worsen another. So before you copy a routine off the internet, it pays to know which way your own body is leaning. A home check gets you that first read.
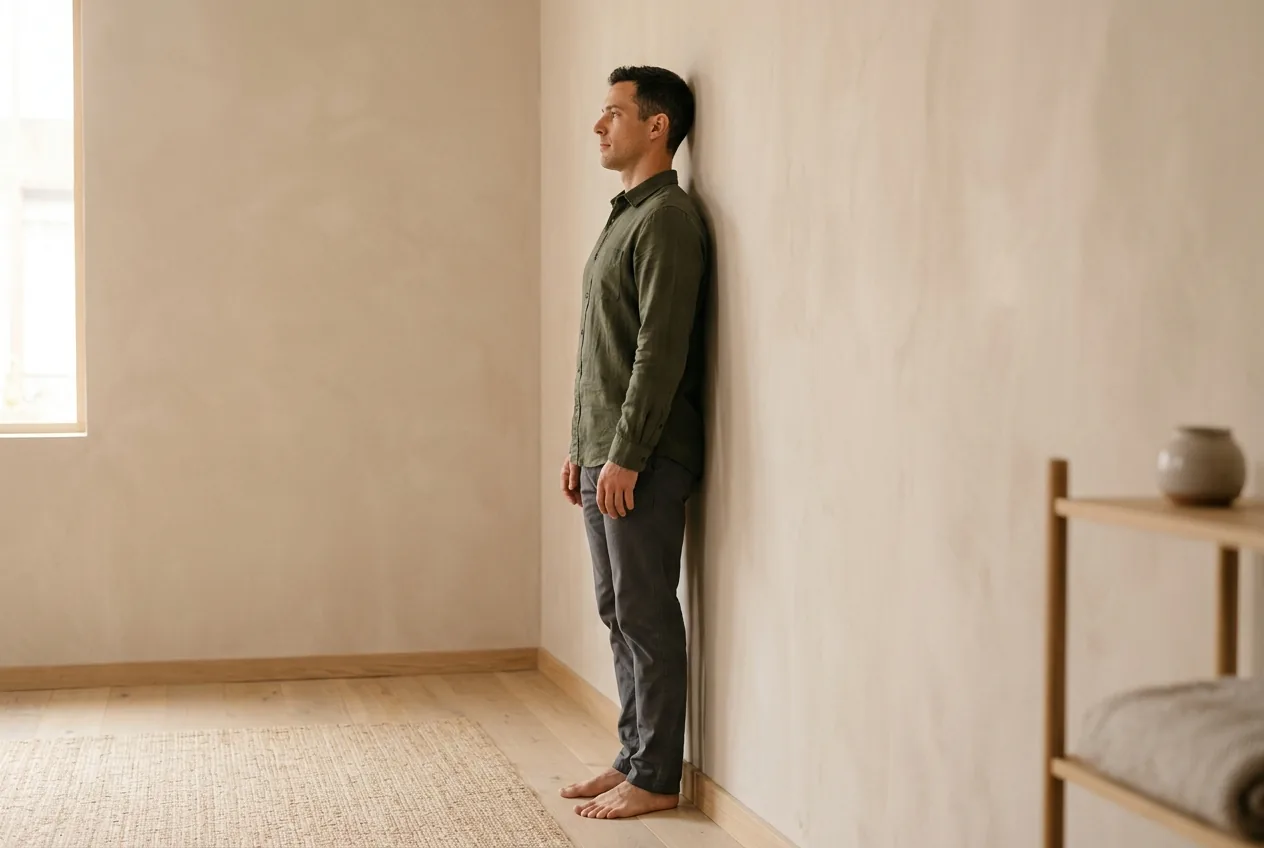
The wall test, step by step
This is the classic starting point. You'll need a flat wall with no baseboard in the way, and shoes off.
- Stand with your back to the wall. Heels a few inches out, feet hip-width. Let your buttocks, upper back, and the back of your head rest naturally against the wall — without forcing or military-stiffening.
- Check the four contact points. In a balanced posture, the back of your head, your shoulder blades, your buttocks, and your calves all reach the wall comfortably. Notice which ones don't.
- Slide a hand behind your lower back. There should be a small gap — about a flat hand's thickness. A much bigger gap, or none at all, tells you something about your lower-spine curve.
- Notice your head. If the back of your head won't touch the wall without you straining your chin up, your head habitually sits forward of your shoulders.
What the findings hint at:
- Head won't reach the wall easily → likely forward head posture, a head that's drifted in front of the shoulders.
- Upper back hits first, head and buttocks lag → a rounded upper back, sometimes with rounded shoulders.
- Big gap at the lower back → an exaggerated lower curve, the swayback or lordosis pattern.
- Almost no lower-back gap → a flattened lower curve, the flat back pattern.
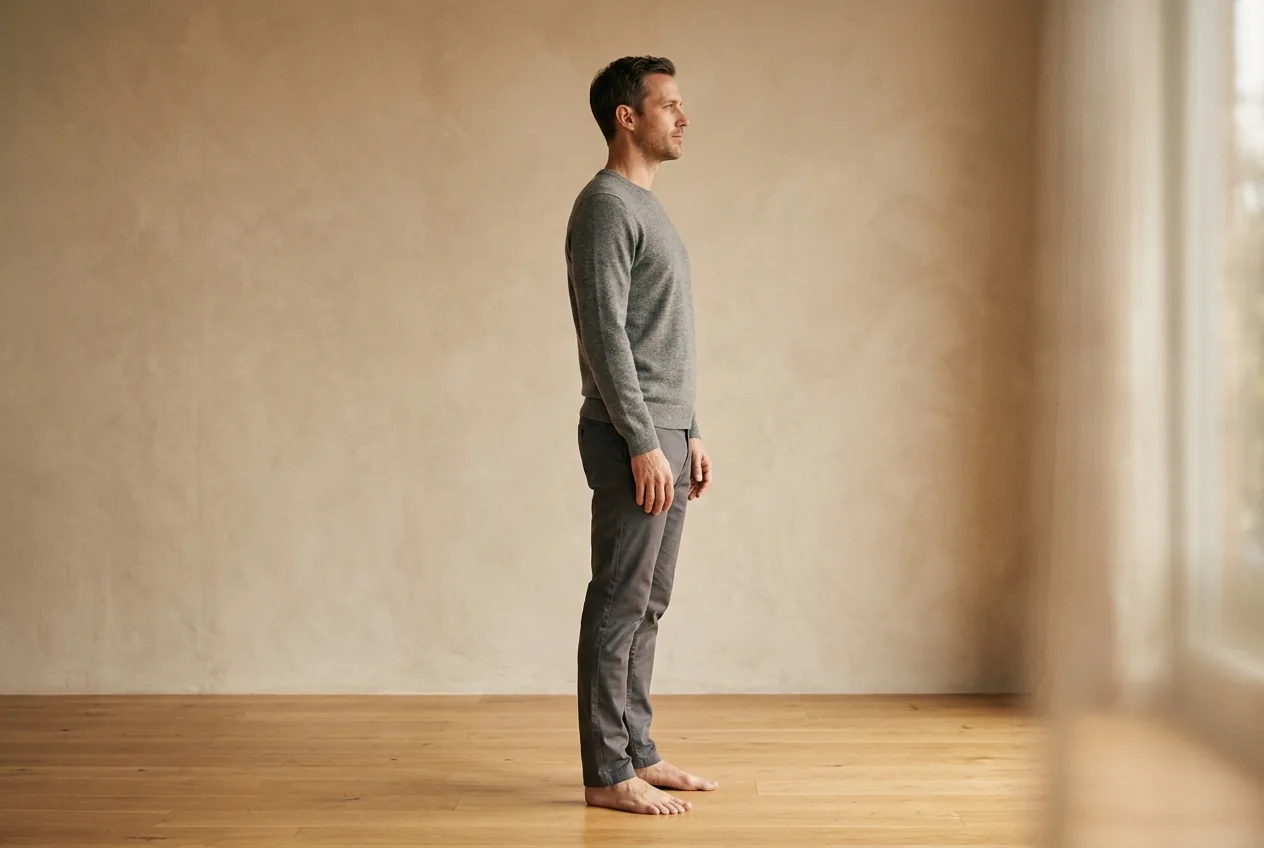
The side-view photo (the more telling one)
The wall test is quick, but the most revealing check is a plain side-on photo, because your spine's deviations show up clearest from the side.
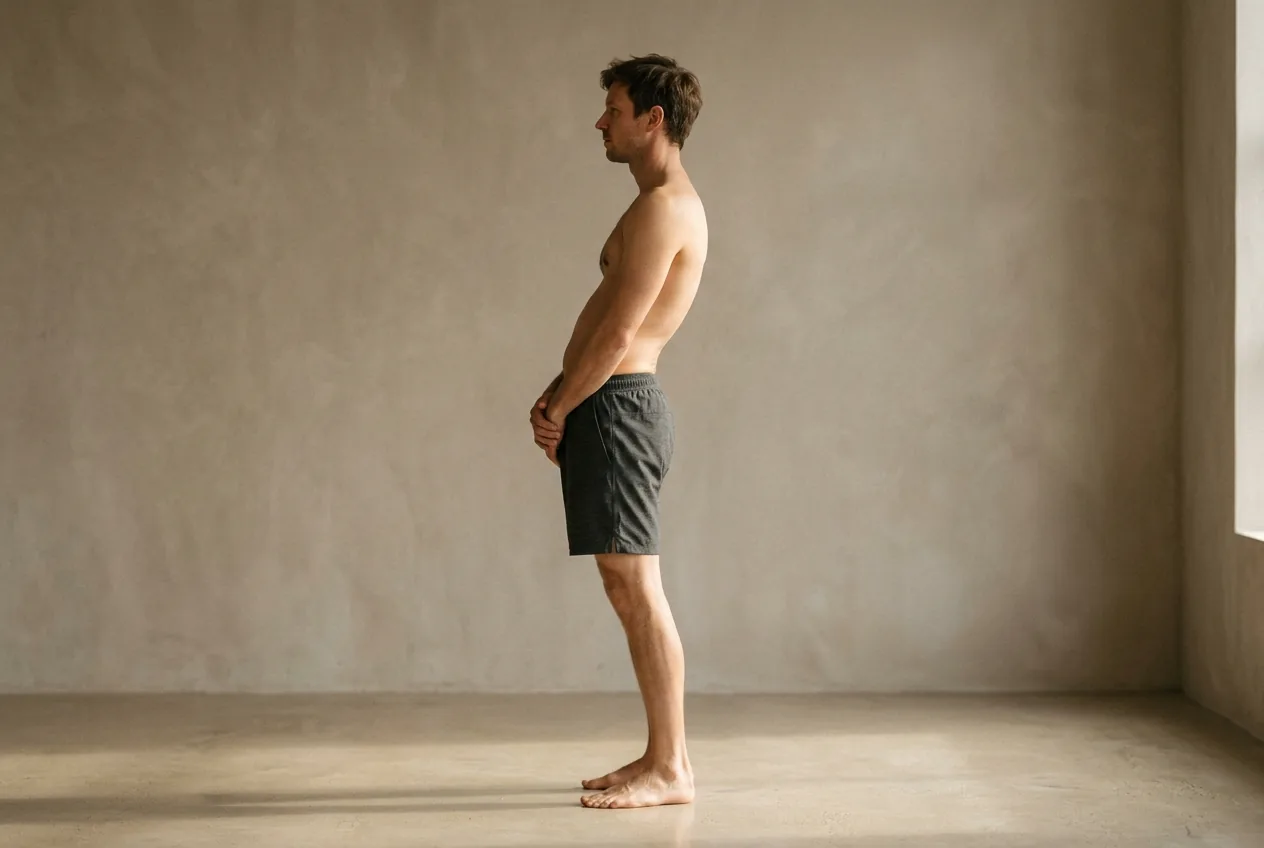
Stand naturally — don't pose — in front of a blank wall, in fitted clothing, and have someone take a photo of your whole body from the side. Then look for a single reference: an imaginary vertical line dropping from your ear.
In a balanced posture that line passes roughly through your ear, the middle of your shoulder, the middle of your hip, and just in front of your ankle. Now read yours:
- Is your ear well in front of your shoulder? That's the head leading forward.
- Do your shoulders round forward ahead of the line?
- Does your pelvis tip forward or tuck under relative to your ribs and knees?
Your side profile tells you more in one photo than a week of standing straighter ever will.
Take a front-on photo too, and check whether your shoulders sit level and your hips sit level. If one shoulder rides high or one hip lifts, you're looking at uneven shoulders or uneven hips — patterns that usually trace down to the pelvis.
What to write down
A check you don't record is a check you'll forget by tomorrow. After the wall test and the photos, jot down three things: which wall contact points lagged, where your ear sat relative to your shoulder in the side photo, and whether your shoulders and hips looked level from the front. Keep the photos. Two months from now, the same photo taken the same way is the clearest evidence you'll get that anything has changed — far more reliable than how your back happens to feel on any given morning, which swings with sleep, stress, and how long you sat that day.
Take the photos in the same spot, same lighting, same fitted clothing each time. Stand the way you naturally stand, not the way you'd pose for a camera. The whole value of the check is catching your default posture, not your best one.
A quick movement check
Posture isn't only how you stand still. Two simple observations add useful detail:
- Wall sit against the chin. Do gentle chin tucks against the wall — drawing your head straight back. If it feels strained or far, your neck has lost some of its natural balance.
- Watch yourself sit. Glance sideways in a mirror as you settle into a chair. If your pelvis rolls backward and your lower back rounds, that slump is where a lot of patterns get rehearsed daily.
When to see a doctor
A home posture check is education, not a medical exam, and it can't rule anything in or out. See a clinician promptly — rather than self-correcting — if you have numbness, tingling, or weakness spreading into a limb, any loss of bladder or bowel control, pain that followed a fall or accident, fever with back or neck pain, unexplained weight loss, or pain that's severe or steadily worsening. In children or teens, a visibly uneven back when bending forward should be checked. Posture work is for the everyday aches that build over years, not for red-flag symptoms.
From seeing it to fixing it
A home check is a real first step, but notice its limit. It tells you something is off — head forward, hips uneven — but not by how much, not which deviation is driving the others, and not what to correct first. Eyeballing a photo, you'll often spot the obvious tilt and miss the one underneath it that's actually causing the trouble. And since the right correction for one pattern is wrong for another, the order matters.
That's the gap between guessing and knowing. A posture assessment measures your actual deviations from a few photos and builds a corrective sequence around your specific pattern — the same idea as the home check, but precise enough to act on. If you'd like to understand the categories first, the main posture types explained gives you the map.
Start with the wall and a side photo today. Even a rough read of which way you're leaning beats years of standing straighter and hoping.
Common questions
How do I do the wall test for posture?
Stand with your back to a flat wall, heels a few inches out and feet hip-width, and let your buttocks, upper back, and the back of your head rest naturally against it. Check which of those four points reach the wall, then slide a hand behind your lower back to feel the gap — about a flat hand's thickness is normal.
Can I check my posture at home without any equipment?
Yes. A flat wall and a mirror cover the wall test, and a plain side-on photo taken by someone else adds the most telling view. No tools beyond a phone camera are needed.
What does the gap behind my lower back tell me?
A small gap, about a flat hand's thickness, is normal. A much bigger gap points toward an exaggerated lower curve, the swayback or lordosis pattern. Almost no gap points toward a flattened curve, the flat-back pattern.
Is a home posture check the same as a diagnosis?
No. A home check shows you roughly which way your body is drifting so you stop guessing, but it can't give a clinical diagnosis or rule anything in or out. Red-flag symptoms like numbness, weakness, or pain after a fall need a clinician, not self-correction.